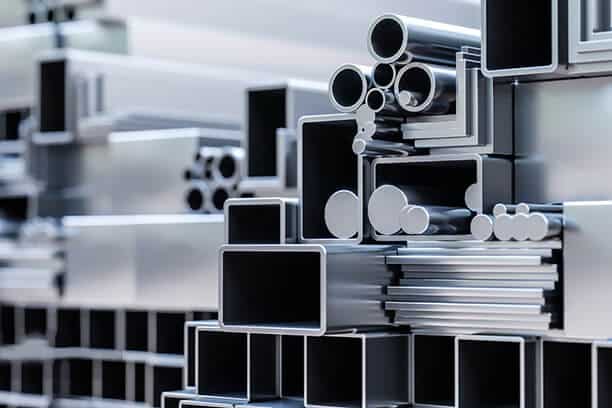

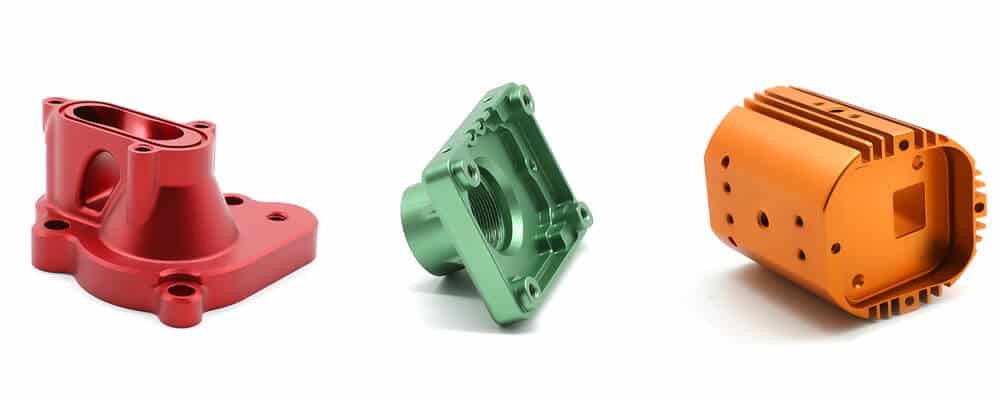
CNC aluminum machining is an effective solution to make high quality and affordable products for various industries. This is because this metal offers excellent properties such as high durability, heat tolerance, light weight, and low cost.
Similar to other metals, aluminum is prone to oxidation and corrosion over time. To enhance the corrosion resistance of aluminum, applying a quality surface finish is highly recommended. Through proper surface treatment, aluminum parts can have an extended lifespan and offer years of reliable use.
Painting is an excellent choice for surface finishing aluminum parts. Other than improving the corrosion resistance and overall functionality, painting can also enhance the visual appeal of these parts.
But how to paint aluminum parts, which aluminum paint is best to use, and what should you consider in this process? Follow this guide to explore that.
Supplies Needed to Paint Aluminum
Painting aluminum involves a more intricate process compared to painting other materials. Due to the presence of self-etching primers and rough surfaces, it’s crucial to take additional precautions to avoid any damage or injury.
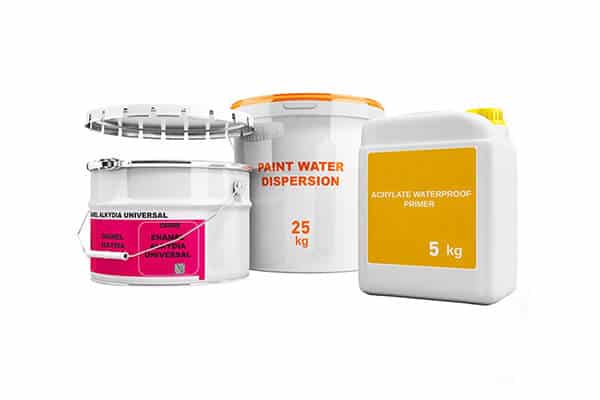
Before starting the painting task, it’s vital to prepare the necessary supplies. Make sure to have the following items readily available:
- Gloves
- Drop cloth
- Clean cloth
- Eye protection (safety glasses, face shield)
- Air respirator with organic vapor cartridges to keep out paint fumes
- Degreasing cleaner
- Sandpaper or sanding block
- Spray gun, roller, or brush
- Self-etching primer
- Enamel Sealant
- Latex or acrylic paint
Steps for Painting Aluminum – How to Paint Aluminum
Painting aluminum parts can present some challenges because aluminum has a smooth and non-porous surface that makes it difficult for paint to adhere effectively. To ensure a successful painting for aluminum, here’s the step-by-step process:
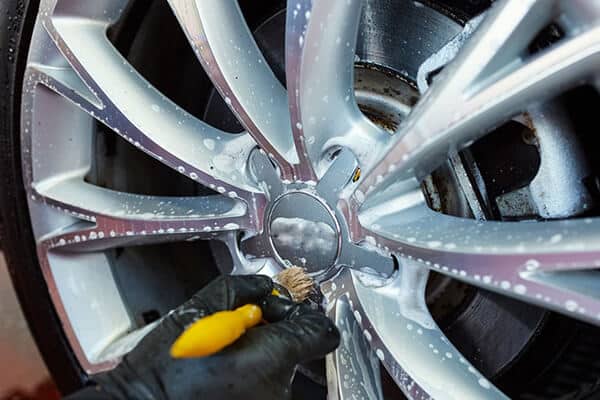
Step 1 – Thorough Cleaning
Begin by working in a well-ventilated area and ensure that drop cloths are placed underneath the aluminum structure to protect against unintended paint drips. It is common for paint splatters and drips to occur, so having drop cloths readily available is important.
To clean the aluminum surface, prepare a mixture of warm water and a mild detergent or degreasing cleaner in a bucket. Dip a clean cloth into the solution and use it to wipe away any dirt or grime. Rinse the surface with clear water to eliminate any remnants of soap residue. In the case of paint flakes, gently scrub them away using a wire brush.
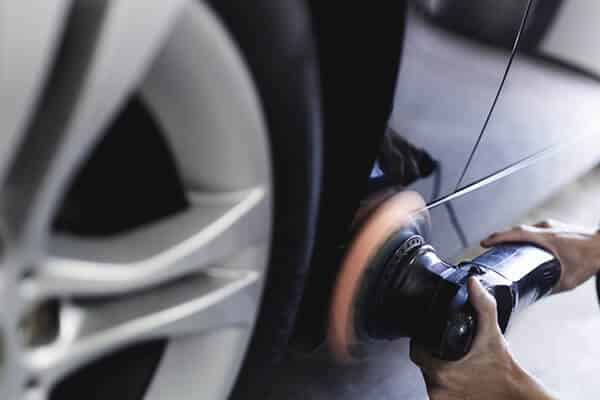
Step 2 – Sanding to Create a Coarse Surface
Sanding the aluminum surface is a crucial step to ensure proper adhesion between the surface and the paint. Sanded surfaces are rough to the touch, so wear gloves, a respirator, and eye protection for your safety. When using a power sander, it becomes even more crucial to wear a respiratory mask, as inhaling aluminum dust can be harmful to your lungs.
To begin sanding the aluminum, use fine-grit sandpaper, preferably around 60-80 grit. This will efficiently remove old paint and create the coarsest surface possible for the new paint to firmly adhere to. Once the sanding is complete, thoroughly wash the surface with the same cleaning solution mentioned in step one and allow it to dry completely.
Step 3 – Apply Multiple Coats of Self-Etching Primer
After ensuring that your aluminum surface is clean and completely dry, it is time to apply a self-etching primer. Apply 3-4 coats of primer to ensure that each coat creates a solid and even layer. If you choose to spray the primer, it is recommended to do so in a well-ventilated garage or outdoors where fumes can dissipate easily.
The drying time between each coat will vary based on the specific primer and the air temperature. Generally, you can expect to wait approximately 5 minutes between coats. Read the instructions provided with the primer to determine the recommended drying time before applying each subsequent coat. Once the final coat of primer on the aluminum surface has dried, proceed to sand it again using 400-grit sandpaper and a cloth to wipe away any residue.
Step 4 – Painting the Aluminum
After completing the necessary preparations for your aluminum piece, it is now time to proceed with the application of paint. Choose a paint color that you prefer and ensure that it’s suitable for use on metal surfaces. Apply 4-5 coats of latex or acrylic paint onto the aluminum, ensuring an even and thorough coverage. Allow the painted surface to dry and cure for a period of 24 hours before subjecting it to water or any harsh weather conditions.
For aluminum surfaces, a matte or satin finish is a better choice as they can help conceal signs of wear and tear more effectively than high gloss finishes. Additionally, matte paints are particularly suited for outdoor objects that are exposed to sunlight, as they possess greater reflectivity and can withstand high temperatures.

Step 5 – Apply an Enamel Sealer
After the paint has fully dried and cured, apply a coat of enamel sealer to provide additional protection against UV rays and potential damage or discoloration. While this step is optional, it can significantly enhance the longevity of the painted aluminum surface.
To apply the enamel sealer, dip a clean cloth into the sealer and ensure any excess drips off before wiping the surface of the aluminum. Allow the first coat of sealer to dry, and then proceed to apply a second coat. Once the sealer has fully dried, you can safely bring your aluminum piece indoors and admire its newfound beauty.
It is possible that you may need to make a few touch-ups along the way, but do not worry, as the process will become easier with practice and experience.
Step 6 – Enhance Painted Aluminum Surface as Needed
Ensure that each coat of paint is allowed to dry thoroughly before applying additional coats. Apply as many coats as necessary to achieve the desired level of coverage. Once the paint has completely dried, you can apply a clear coat or protective finish to enhance the surface’s protection as well as provide a glossy finish, if desired.
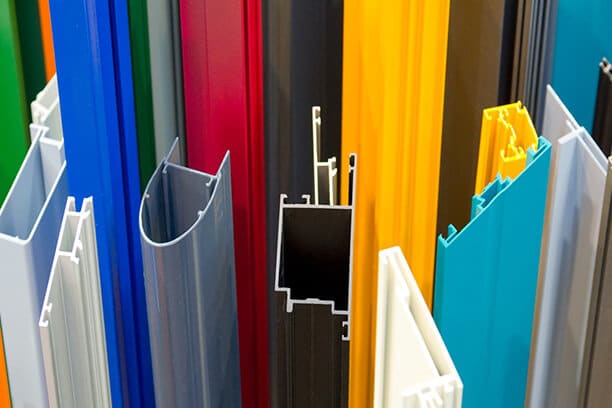
Types of Aluminum Paint
There are various types of paint available for painting aluminum. Among them, latex or acrylic paints are commonly used due to their compatibility and effectiveness.
- Epoxy Paint: Epoxy paint is an excellent option for painting aluminum parts exposed to extreme temperatures, chemicals, or moisture. Its durability and ability to withstand harsh conditions make it a long-lasting choice. Additionally, epoxy paint creates a glossy and hard finish with good resistance to chipping and peeling.
- Acrylic Paint: Acrylic paint is a versatile and user-friendly option for painting aluminum surfaces. It offers quick drying time and delivers a smooth and uniform finish. With a wide range of colors available, acrylic paint can be used for various indoor and outdoor applications.
- Enamel Paint: Enamel paint is a durable and glossy paint that offers excellent coverage. It is particularly well-suited for aluminum parts subjected to moisture or chemicals, as it offers resistance against corrosion and rust.
- Powder Coating: Powder coating is an electrostatically applied and heat-cured finish known for its durability and longevity. It forms a thick and uniform coating that is highly resistant to chipping, peeling, and fading. This makes it an excellent option for aluminum parts that will be subjected to demanding conditions, including automotive and industrial environments.
Why Paint Aluminum?
Aluminum possesses a natural ability to develop a protective layer called aluminum oxide. This layer continuously renews itself unless it is abraded or damaged.
While this protective layer is effective, it lacks visual appeal as it appears as a dull gray color. To enhance the aesthetic appearance of aluminum, applying aluminum paint in various situations can be beneficial.
Furthermore, utilizing aluminum paint is also recommended when aluminum comes into contact with high PH chemicals. If the pH value exceeds 8.5, painting the aluminum helps protect it from potential damage.
Advantages of Painting Aluminum
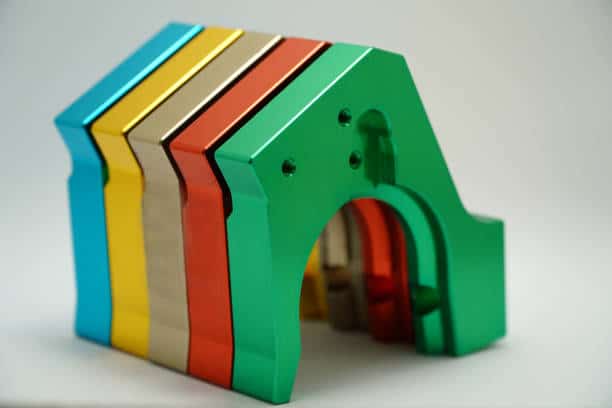
1. Enhanced Visual Appeal
Painting the aluminum ensures that you can achieve the desired color for your project, further enhancing its visual appeal. For instance, aluminum parts visible on the exterior of an automobile tend to require an attractive appearance.
2. Extended Lifespan
While aluminum already has a commendable natural lifespan, applying a high-quality finish can further enhance its durability. The paint acts as a protective barrier against weather conditions, corrosion, and oxidation, significantly extending the overall lifespan of the aluminum item.
3. Corrosion and Rust Resistance
Rust and corrosion pose significant threats to metals, including aluminum. Fortunately, applying paint creates a protective barrier that shields the aluminum from these detrimental effects.
4. Improved Performance
Painting aluminum machines or parts can lead to a boost in productivity and performance. For instance, a rusted metal engine will not perform as well as a painted and well-maintained machine. By applying paint, the aluminum is protected from these issues, resulting in improved performance and productivity.
5. Superior Finish
For a superior finish, selecting the appropriate finishing is crucial. Different options are available, and the choice should be based on project requirements and part types. Industries like medical, aerospace, and automotive require smooth and strong parts, which can be achieved through painting.
6. Higher Efficiency
Painting can be the optimal choice for achieving efficiency when working with large parts or parts that have a wide surface area. It allows for a faster finishing process compared to other methods. This leads to reduced lead times for customers and overall time savings in the finishing process.
Tips for Painting Aluminum
Maintaining cleanliness is crucial when painting aluminum. Note that even the tiniest speck of dust can be visible after the aluminum has been polished and may become mixed with the paint during the painting process. To ensure a pristine surface, wipe the aluminum with a lint-free cloth before applying varnish.
Similar to wood varnishing, avoid using brushes with loose bristles when varnishing aluminum. On painted wood, individual bristles can be easily seen, and the same applies, or even more so, to painted aluminum. It is advisable to use high-quality brushes specifically designed for painting purposes.
In addition, never use sandpaper or cloths that have been previously used on other metals when working with aluminum. Doing so could introduce fine dirt and abrasive particles into the aluminum, potentially affecting not only its appearance but, more importantly, the adhesion properties and protective function of the paint.
FAQs
Conclusion
Painting is unnecessary for aluminum at low loads due to the natural formation of a protective layer that shields it from weather-related effects. However, if you desire to customize its appearance, painting can be applied to aluminum parts.
This article has discussed one of the most commonly used surface finishing methods for aluminum – aluminum painting. We hope it helps you select the appropriate color, types, metal, and manufacturers for your projects.
Aluminum CNC Machining and Surface Finishing Services Supplier – Runsom Precision
Do your projects require CNC machining services to make custom machined aluminum parts and post-processing operations to enhance their mechanical or functional properties? If so, Runsom Precision may be your premier choice. With more than ten years of experience, we have been an expert in offering one-stop solutions to Aluminum CNC Machining projects from start to finish. Our team of machinists and engineers will help you with affordable and best solutions to make your aluminum parts with a high-quality and attractive finish. Require an instant quote to get started with your projects!
Other Articles You May Be Interested in: