Situation of Application:
Services: CNC milling, bead blast, black anodized, laser etching
Material: aluminum 6061
Quantity: 550 sets, 3 components per set
The Project
This enclosure was the first project that started the cooperation between Runsom and Our client. Before making 550 sets, some samples as well as a small batch of 100 sets had been ordered and produced for testing. The enclosure was made of three parts including lid, base and window and milled from aircraft grade aluminum. All of the parts were anodized in black as per MIL-A-8625, TYPE II, Class 2.
The Product
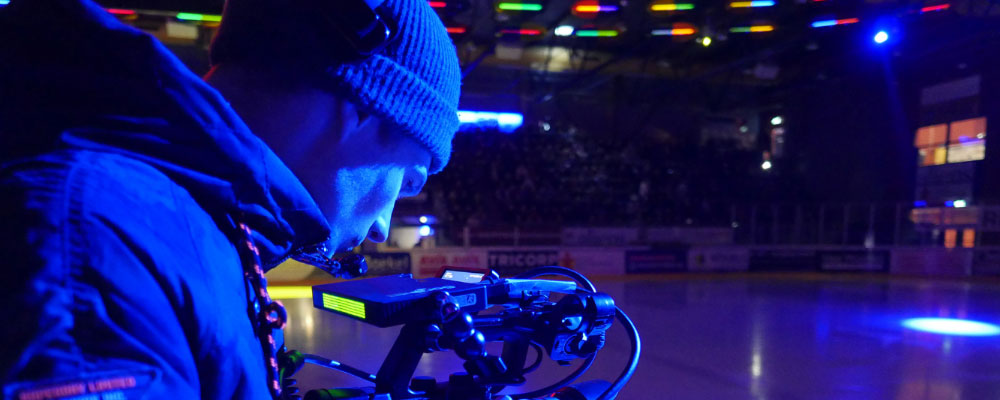
Studio NDI by Our client is the World’s Only NDI® hardware Encoder&Decoder featuring both SDI and HDMI inputs and outputs. It can be powered by Power over Ethernet (PoE) or D-Tap from user’s camera battery. It has perfectly finished enclosure, equipped with Our client’s revolutionary custom silicon chip. It is beautiful, tough and fast. A perfect all-in-all product!
Before proceeding with this batch, the following areas were discussed with Our client:
1 Design for Manufacturing Recommendation
The areas marked in red needed to be masked partially prior to anodization.
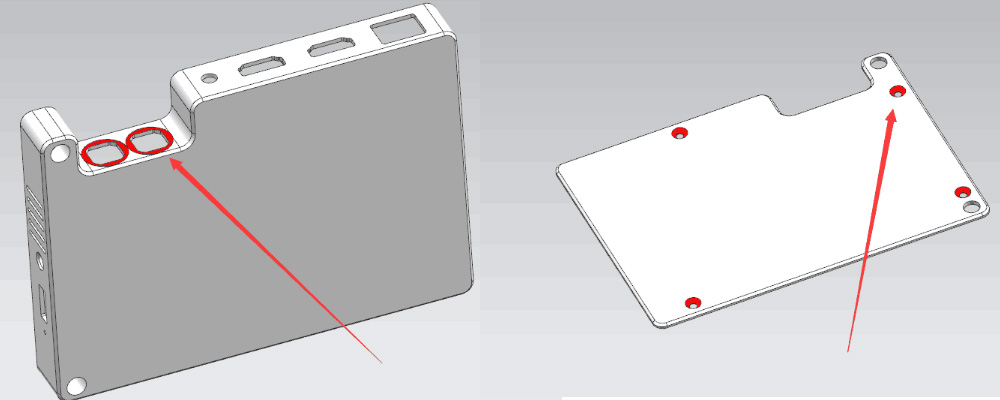
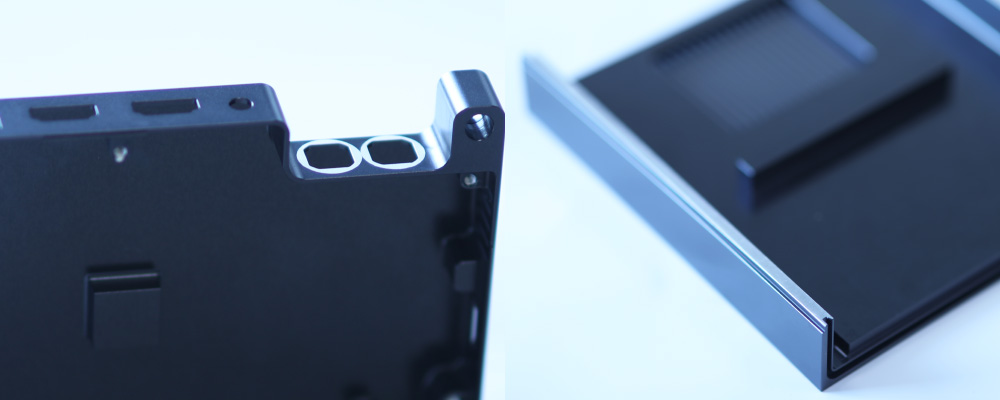
In the aim of preventing them from being anodized, the areas marked in red above needed to be masked partially prior to anodization. We shared our concerns with the client that the border of the partially masked areas would probably not be neat. We suggested making a second machining to remove anodization after anodizing the whole part. But the machining cost would go up. A photo of the remachining and the masking was attached for the client’s reference.
The client went ahead with this as we proposed and ordered some samples before starting 550 sets. When samples were ready for surface treatment, our team brainstormed and tried to improve. Finally, we found a better solution which could not only achieve neat finish at the border but also make the cost more effective. The method was the removal of anodization with laser etching instead of remachining.
2 Design for Manufacturing Recommendation
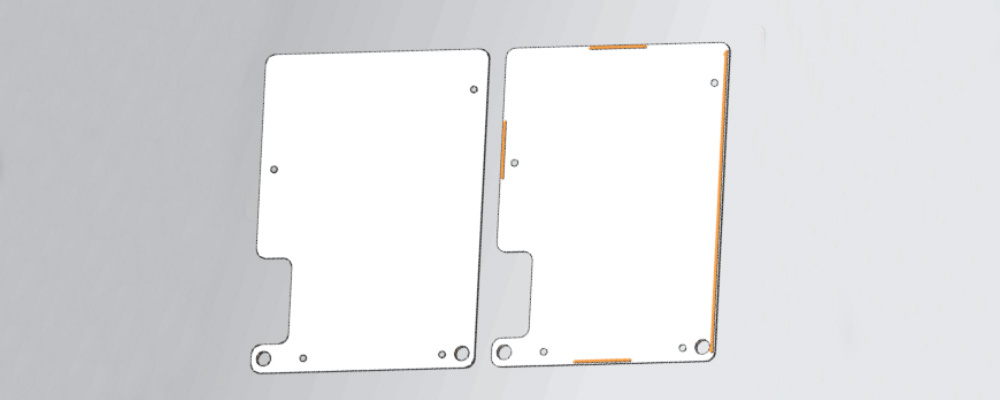
The design was more complex than that at the last batch. The client hoped to control the cost on these enclosures. The thickness of the current base was 20.2 mm and it needed to buy 25 mm material, while the previous one was 19.5 mm and the 20 mm material was used. Some cost would be saved if the thickness could go back or be less than 2 0 mm to use 20 mm material. The client considered this. However, in order to gain more market share, they needed to work on getting the cost down further. They expected that the next run would be 1000 sets. We reanalyzed the updated design to see if any adjustments could be made. We suggested changing the added groove on the lid into 4 small grooves. Even though the client preferred to go with their current design at this 550 sets run, they went with our proposed change at the next lot.
Material Inspection
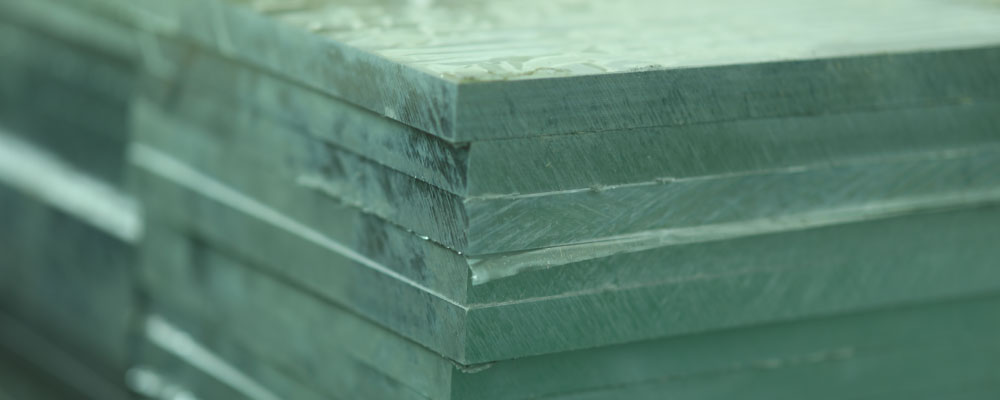
As usual, we double-checked the incoming raw material and made sure that the specification was correct and it was exactly AL 6061-T6.
CNC Milling
As soon as the raw material was prepared, we made several holding fixtures for each of these three parts.
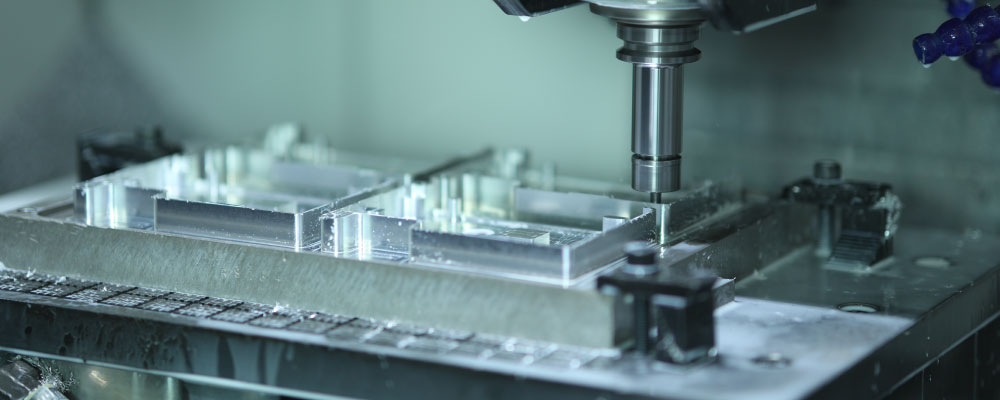
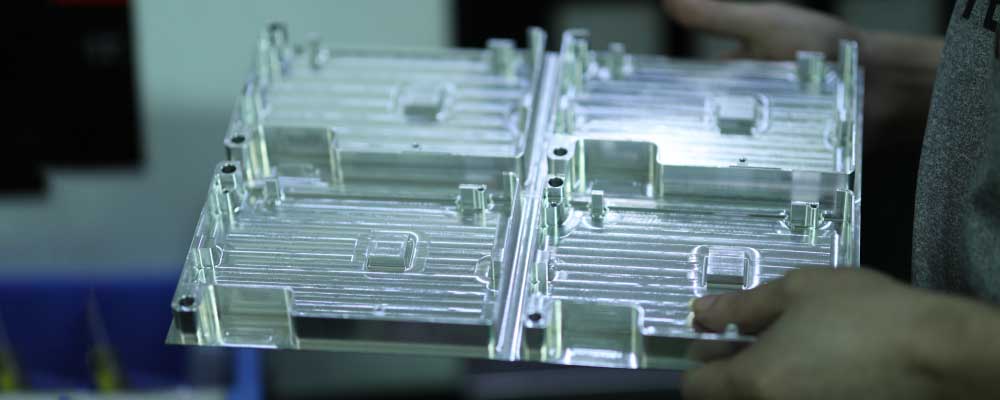
The lid for the enclosure needed to be milled on both front and opposite sides with the vacuum chucks. The milling on the opposite side was difficult and the problem that should be noted was that the cutter was easy to break when milling the small groove. The part “window” was very thin and the difficulty was the clamping during machining.
Sandblasting, Anodizing and Laser Etching
After the parts were milled, the first step of surface treatment was the sandblasting which can let the parts achieve matte finish. Then the lid, the base and the window were anodized in black. Anodizing is an electrochemical process that converts the metal surface into a decorative, corrosion-resistant, durable and anodic oxide finish. Aluminum is ideally suited to anodizing. The final finish step was laser etching. All of these three parts were laser etched.

