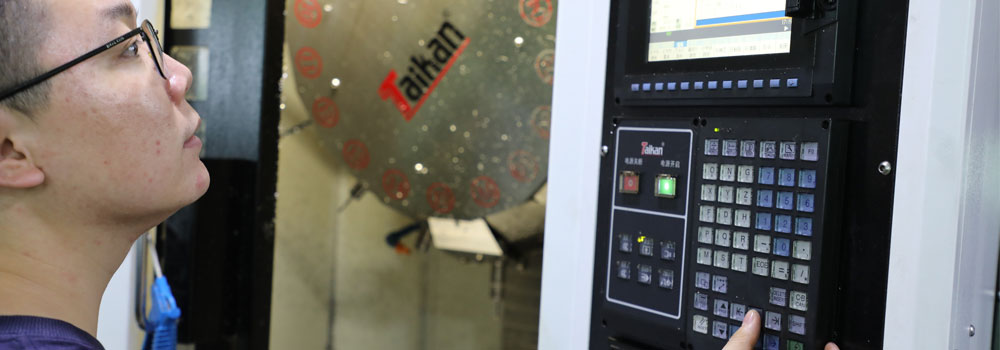
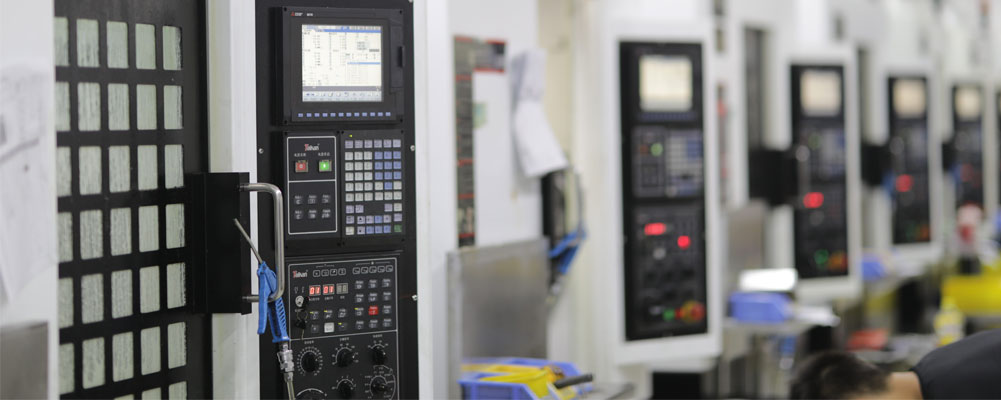
As rapid development of CNC machining, CNC machines have grater production capabilities in every year. CNC cutting tools can mill various shape and drill radial hole in once operation process, which is normal required separate drilling and milling process. As most machining centers are always equipped with 5-axis CNC machines, where multiple features on various directions can be completed in just one operation. This encourage designers and engineers to create create high complex geometry parts with higher quality, less cost and shorter leading time.

In this case, we need to apple some certain machining rules to guarantee final parts quality, in order to avoid expensive reworks and project delays. There are design tips of key considerations, which should be noticed in CNC design process:
Hole placement
Milling deep features
Thread and inserts
Text
Part radii
Runsom is equipped with 5-aixs CNC machines, this machines can grip work-pieces bottom, then handle top and side area. It can create parts with complex structure, such as brackets with undercuts on its side area. Our CNC tuning also can finish complex parts in just one operation on high speed lathes.
With all these milling, turning and toiling background in mind, we should consider the five elements carefully in complex parts design process:
Hole Position
Our minimum size of on-axis and axial hole is 1mm, with maximum depth of 6 times of diameter. Radial holes, which are drilled form pars side, should be at least 2mm in diameter. It is possible to drill holes through all milled or turned parts, especially on hollow or tube-shaped parts. While consider of part size, hole diameter, materials and cutting tools, we should check your design analysis for potential constraints. In order to guarantee machining process form side once possible, and achieve all your design requirements.
Deep Features
In turning process, external grooves should be less than 24mm in depth and more than 1.2mm in width. As slot-like features are always get reference form same playbook as drilled holes in terms of size, our good rule of thumb is keep depth less than 6 times of width, in addition, the adjacent materials wall thickness should be more than 0.5mm. For large flats milling surface, it always depend on available cutting tools size, which determine possibility of deep geometry production. Deep rib and grooves are challenge in manufacturing process, it is possible to create heat sink-like features on turned or milling parts, but this should be determined by part actual geometries and available cutting tools. So you need to check your design for manufacturing analysis, or contact our engineering team for testing.
Better Threads
In Runsom, there are great deal of overlaps in threading capabilities in milling and turning process, our CNC centers can produce threads size form M3x0.5 to M10x1.25. Which depends on CNC machine types and thread feature position. You can check the threading guidelines for precise measurement and detail information. In addition, find the proper way to model threads in design section, and consider the relationship in internal or external and milled or turned parts features. Another consideration is the insert application, coil and key inserts can provide longer service life than bare thread, especially for soft metal materials such as aluminum or plastics. There is no doubt that the installation process is more easier than CNC machining.
Costly Text
As most companies require permanent marks of parts series numbers and company names on component surface. Recessed text performances nice on excellent surface, while it is more time-consuming than other machining process, especially for high volume quantity production. So we recommend better solution of electronic-chemical etch or laser mark. While you need engraving text indeed as special requirement, text should be short with simple and clean fonts. The most popular solution is Arial Rounded MT font of 14 point with 0.3mm depth for soft metals and plastics, Arail Rounded MT font of 22 point with 0.3mm depth for hard metals.
Radii Corners
There is a common mistake in CNC machining design, which is sharp internal corner. As normal turning tools nose radius for finishing service is 0.032mm, we should consider this element in designing process. While milling cutters nose radius reach to 1 mm, it determine that any internal corner radii will be more than half of its diameter. In addition, milling is limited by feature depth of less than 9.50mm, and its process will take a long time. So our recommendation is to relieve internal corners or allow internal radius as large as possible to mate part designing.
Conclusion
As we can see, CNC designing without good and complete considerations will make CNC machining process more challenge, this will give rise to more cost in final production. Especially for final high volume production. Once you are doubt about your complex parts features, feel free to contact our engineering team.


